Showing posts with label Bake Along. Show all posts

Tuesday, July 10, 2012

Bake-Along #28 - Coconut Checkerboard Brownies

Time to bake again with our 3 host from Bake-Along, Joyce, Lena & Zoe.
This time, a Coconut Checkerboard Brownies had been choosen. I do quite like brownies very much as they were rather a "chewy" texture. But for this bake, it was rather a challenge for me as it was a "checkerboard". hehehehe.....
In fact, I had make quite a mess on this bake attempt... I don't quite really understand the steps as I find it quite confusing... Probably it was just me...
And also, coconut flakes wasn't sold widely in SG and I had managed to found them from Bake King shop. Not sure how much coconut flakes was needed, I bought just 1 pack of 100g, only realizing that I needed more for a full recipe. Thus I had halved my ingredients, and that's when the "MESS" arrived!!!!
I do not have a food processor, so I had used my hand-held blender to blend the coconut flakes to fine flakes, trying very hard though, LOL, and OK, I did managed to blend them into smaller flakes... :-p

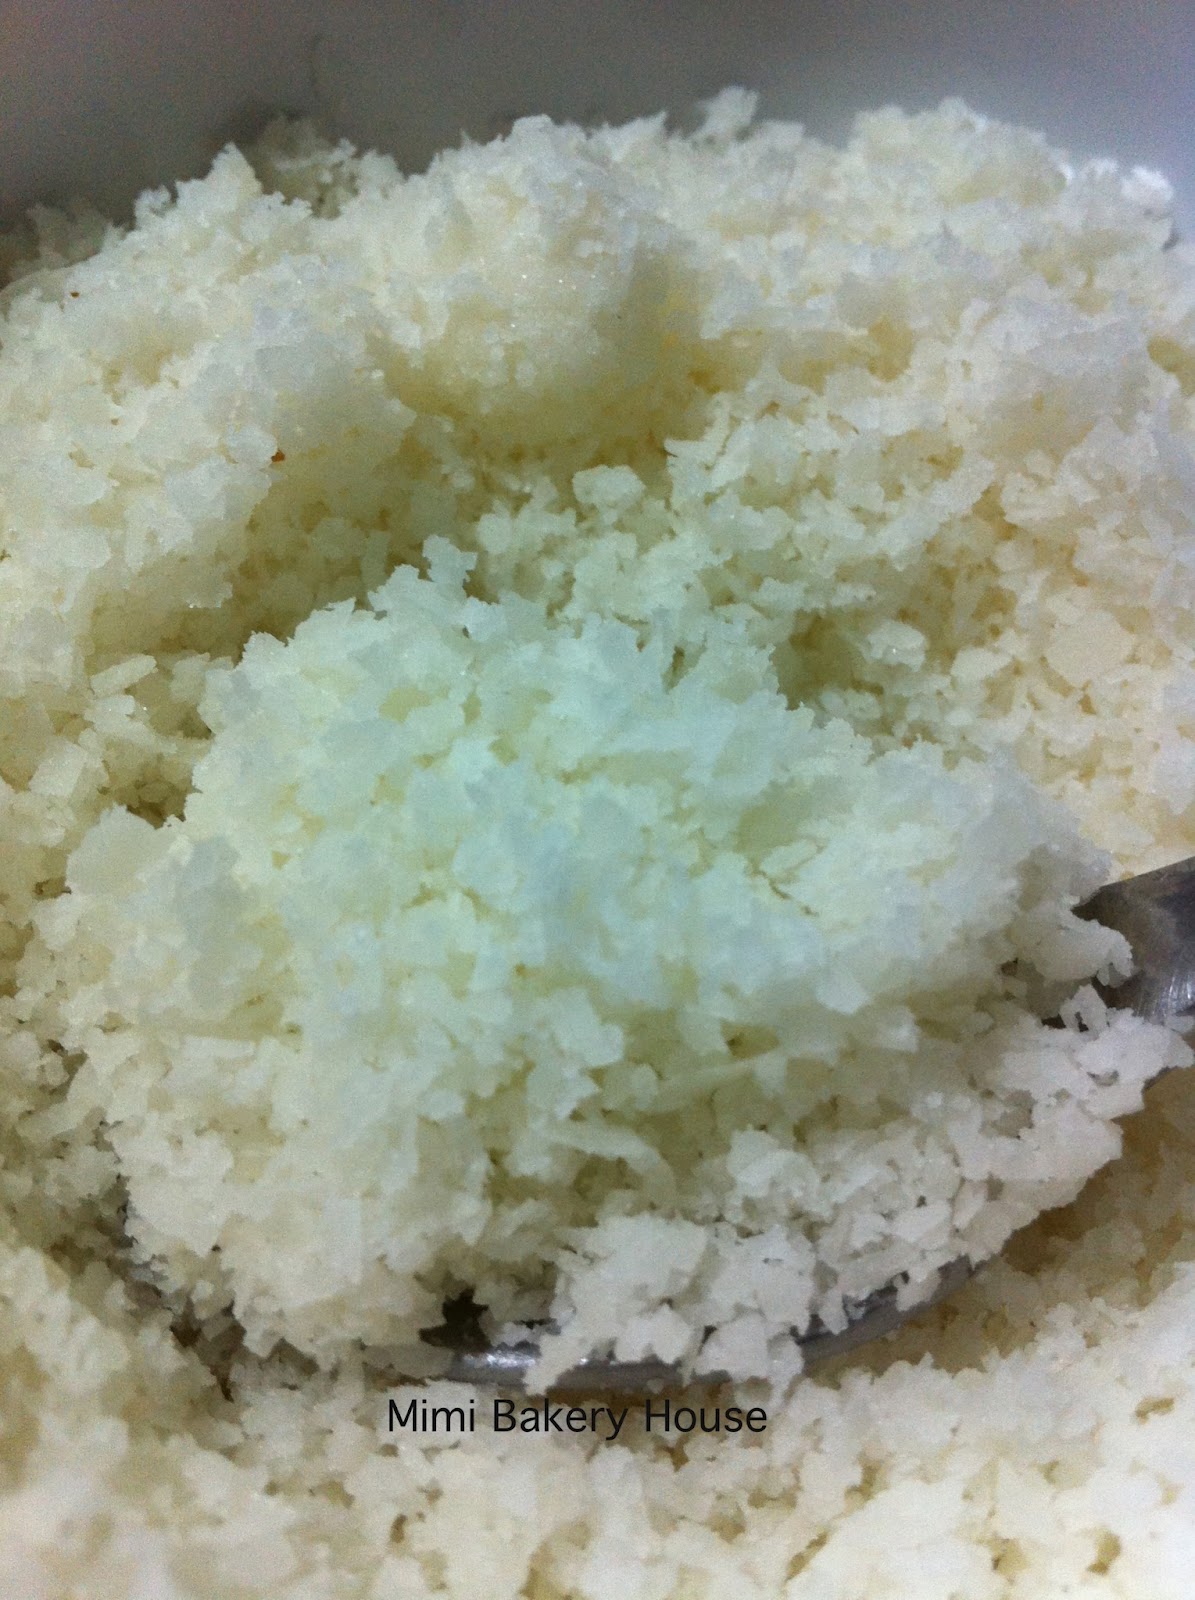
I had prepared the coconut batter, and they were supposed to "harden" after refrigeration, but mine didn't... Thinking very hard of what had I done wrong or what had I missed... I was pondering if I should continued to prepare the chcocolate batter if this coconut batter was done wrongly... After giving some thoughts, I decided to gave it a shot. It probably wasn't what I should be expecting. As you can see, my coconut batter was in a "watery" state... Cross my toes & let's see what happening during the baking process....
Still pondering what had went wrong with my coconut batter through the waiting period.... Finally, I had realized that I had added a whole egg instead of half egg, as I had halved the portion for this bake... Feeling a bit disappointed with this little mistake I made, ended up "spoiled" the image of this lovely brownie...

The difference between the original brownie baked & my own version... Hahaha...

Texture wise....
It wasn't too bad after all, though the coconut batter was too runny... But I did find it abit too sweet for me even though I had cut down the sugar amount.
Not a frequent brownie that I would bake and I personally will preferred an original brownie:)
Topped it up with ice-cream, eat it up while it is still warm, makes it all up... After all, it was still a great yummy treat for the day.
Some of us loved it, some of us disliked it... Have fun trying out this recipe:)
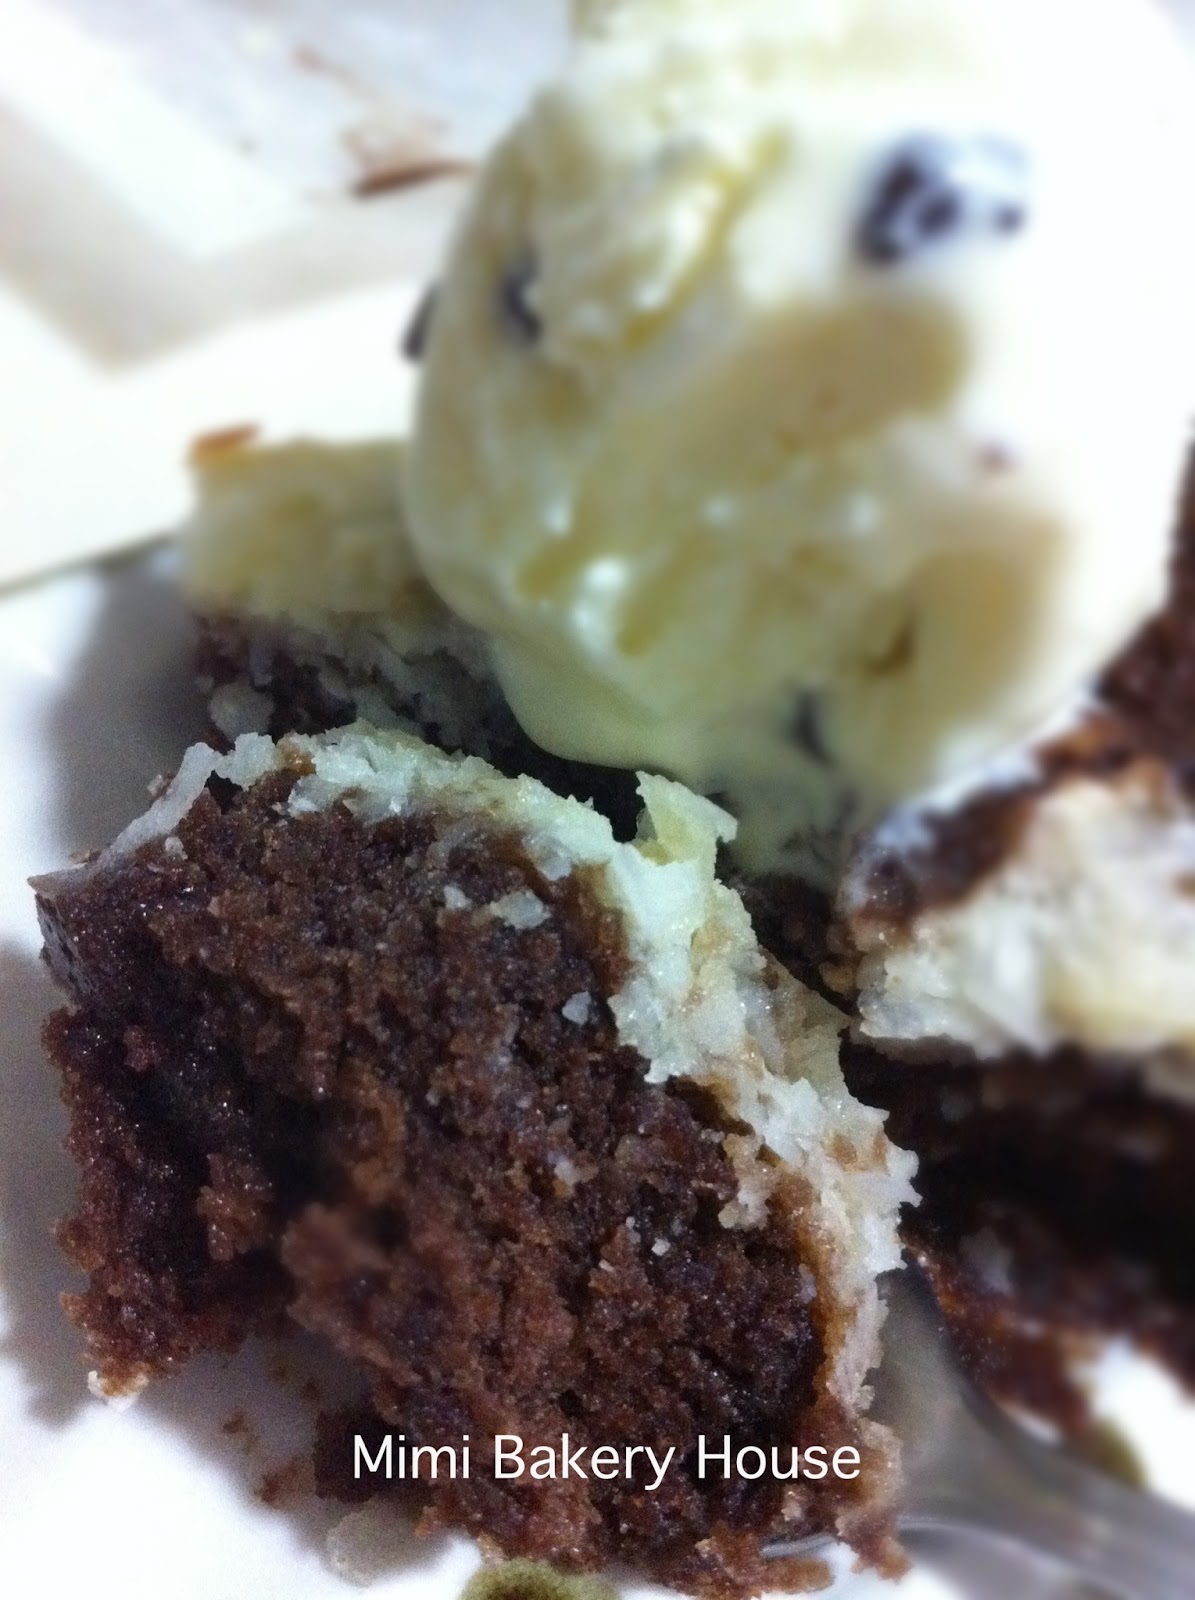
This time, I will not be posting up my modification due to the messy bake, recipe as adapted from "Bon Appetit Desserts" will be shown below. :-D

Coconut Checkerboard Brownies
(as adapted from "Bon Appetit Desserts, by Barbara Fairchild)
Coconut Batter: 7-ounce sweetened flaked coconut
1/4 cup powdered sugar
1/4 cup canned sweetened cream of coconut (such as Coco Real or Coco Lopez)
2 ounces Philadelphia-brand cream cheese, cut into 1-inch cubes, room temperature
1 extra-large egg
1/8 teaspoon almond extract
1/8 teaspoon fresh lemon juice
pinch of salt
Method : Measure 1/3 cup flaked cocount; cover and set aside. Place remaining coconut and sugar in processor, finely chop. Add cream of coconut and cream cheese to processor and blend well. Add egg, almond extract, lemon juice, and salt and blend well, stopping occasionally to scrape down the sides of bowl. Transfer to bowl. Cover and refrigerate until very firm, about 3 hours.

Chocolate Batter: 6 tablespoons (3/4 stick) unsalted butter, cut into 6 pieces
3-1/2 ounces unsweetened chocolate, chopped
2 extra-large eggs
1/4 teaspoon vanilla extract
1-1/2 cups (packed) golden brown sugar
3/4 cup sifted unbleached all purpose flour (sifted, then measured)
1/4 teaspoon baking powder
1/8 teaspoon salt
Chocolate Batter : Butter a 9x9x2-inch metal baking pan. Melt butter with chocolate in heavy small saucepan over low heat, stirring until smooth. Pour into medium bowl. Cool to lukewarm. Whisk in eggs and vanilla. Whisk sugar, flour, baking powder, and salt in small bowl; sift over chocolate mixture. Mix until blended and smooth. Spread 1-1/4 cups chocolate batter in prepared pan (cover and refrigerate remaining batter). Cover pan tightly with aluminium foil. Refrigerate batter until very firm, about 3 hours.


Position rack in center of oven and preheat to 325F. Alternate 1 tablespoon remaining chocolate batter and 1 tablespoon coconut batter over chocolate layer, filling pan completely. Sprinkle reserved 1/3 cup flaked coconut over coconut mounds; press gently to adhere. Cover pan tightly with foil.
Bake 45 minutes. Remove foil and bake until tester inserted in center of 1 chocolate mound comes out almost clean, about 40 minutes. Cool brownies completely in pan on rack.


Cut into squares.

Here do hopped along with us to find out what the Bake-Along Hosts, Joyce, Lena, Zoe & the rest of the fellower baker friends had did for their brownies too:)

Monday, June 25, 2012

Bake-Along #27 - Fruit Scones

I had baked this scones tonight and pre-post this. Browsing through a few scones recipes, I decided to opt for this recipe as it was the easiest one, plus no refrigeration was needed. We do not realy fancy those fanciful scones, just purely plain scones or the ones with chocolate chips do just fine for us:-p

Joining along for the Bake Along #27, let's find out the recipe for this chosen recipe:-D

I had replaced the fruit with chocolate chips instead, as if I used raisins or cranberries, none will eat them.. This is the 3rd time I had made scones, and this recipe wasn't not too bad but it would be have better if I made the scones thicker. And also if I had watched the heat of the oven... hehehe.. Otherwise texture of the scones will be soft & crumbly, which will make it very delicious.
 These chocolate chips scones do go very well with the jam, or even perhaps with butter or cream cheese.
 Having half of the portion of the recipe, it yields about 10 small little mini scones.
 Here is Mimi, having her fair share of her food tasting the moment she sees these scones... hahaha....

Ingredients:
200g self raising flour
50g caster sugar
50g margarine (I used butter)
1/4 tsp of salt
100g raisins (I used chocolate chips or simply palin scones)
1 medium egg
5 tablespoon of milk

Method:
 Step 1. Preheat oven at 220C.

Step 2. Sift the flour into a large bowl, mix well with the sugar. Cut the butter into small little cubes. Using fingertips to rub the butter with the flour mixture into crumbles.
 Step 3. Add the chocolate chips, mix well.
 Step 4. Beat the egg, and take out a spoonful out for brushing the scones later. Beat the egg and mix well with the milk. Pour it into the flour mixture.
 Step 5. Mix well and knead it into a dough.
 Step 6. Roll it out flat, about 1.5-2cm thick. Using a round cuuter to cut out the shape for the scones.
 Step 7. Place the shaped dough on the tray and brush them with egg wash. Bake in the oven for about 10 mins or until they are golden brown.
Note: Do try to bake at the recommended heat and timing as indicated.

Do click on the following links to find out what the Bake-Along hosts had done for their bakes, and the wonderful bakes from other bakers too:))

Sunday, June 17, 2012

Bake Along # 26 - Pear & Maple Crumble

Time had passed by so quickly... Weekends are gone, and back to office tomorrow... *yawn*...

I was hoping I could make it in time to submit my bake in the Bake Along #26. I had came across Lena's post about her Pear & Maple Crumble, and I saw that the link closed in 1 day's time... I was like, should I try baking this today... And I did...
Using whatever I had in my fridge, I managed to make these crumble... just in time before the submission of Bake Along #26 ends...
I had bought the Bon Appetit book from online, and I had gotten it for a very good price. Kinokuniya was like selling it for about S$60+, and I tried to get them from Amazon, which will cost me S$50+... But I got this book from Fishpond at S$30+ plus a S$10 coupon off. It was such a good deal...
I had bought some pears, can't remember what pears they are called, but from China, rather sweet pears. So I reckon these pears will do fine for these crumble. Also I do not have the crystallized giner, I had replaced them with ginger powder. And of course, using almonds...
These pear & maple crumble were very easy to make... No fuss nor mess..:-D
And they were awesome and delicious... The crumbles alone were a good one, I love crumbles very much...
 Hubby and the gals did not really fancy these... not their favourite... I do quite like it very much. While taking the pictures of the crumbles, I had taken a few teaspoons of the crumbles... Yummy as it should be...mmmmm.....

I had used Lena's portion of ingredients as I was rushing for time... By the time I had gotten back home, it was already 5pm. Quickly prepared the ingredients and set them off to the oven. The portion was enought for my 4 ramekins as shown below.
The pear in maple syrup and then, cover with the crumbles, ready to be baked.

Topped with the fresh blueberries, they do go very well indeed... The sweetness of the pear, plus a bit sourish of the blueberries, blends very well... 
 I was glad that this crumble turns out very well. A very surprisingly delicious tea-time snack or dessert. Most of all, it was very easy to prepare:-D

 I had taken the ingredients from Lena as I do not have much time to go through the book, plus my book is in the office... hahaha... pardon me...

I have make some slight modifications to suit my own taste, other then that, you may wish to follow what Lena had used for her ingredients.

Recipe from Bon Appetit

Topping:
83gm plain flour
1/3 cup pistachio nuts, coarsely chopped (I used almond nuts)
30gm castor sugar
38gm cold butter, cut into 1/2 inch cubes

Combine flour, nuts and sugar together and rub the butter in till moist clumps form. Chill them for about an hour.

Filling:
2 small pears, peeled, quartered, cored and cut into cubes
2 tbsp raisins (I omitted as I do not fancy raisins:-p)
1/2 tbsp plain flour
1/4 cup of maple syrup
3 finely chopped crystallized ginger (I used 1 tsp ginger powder)

Method:
1.Position rack in center of oven and preheat to 350F/170C. Place pears, maple syrup. flour and ginger in large bowl, toss to coat. Let stand 15 minutes, tossing occasionally.
2.Divide the  pear mixture to 2 separate oven proof bowls, sprinkle topping over. Bake crumble until topping is crisp , about 30 minutes. Let stand at least 10 minutes before serving.


 While waiting for the crumble to be baked, I have helped the gals make some animal masks. Nat has a school assignment, to make an animal mask. So end up the other 2 gals wanna make one as well. Mimi was so enthusiatic about making her mask, ended up she got bored and restless, she took something else to play...


Do click on the links below to find out what have the Bake-ALong Hosts had did and also the other bakers, on their wonderful works too:-D


Wednesday, May 30, 2012

Bake Along #25 - Bake Along 1st Anniversary Layer Cake - Black Sesame Seed Cake with Golden Syrup Cream

Hello everyone!!! I am going to add in another layer cake for the Bake-Along #25 - Bake Along 1st Anniversary Layer Cake - Black Sesame Seed Cake with Golden Syrup Cream.

I was browsing at the supermarket one of the day, and this cake recipe caught my attention. I have yet to own an Alan Ooi's recipe book, and I'm not too sure if his recipe will work fine for me... So I snapped shot a picture of the recipe.... hehehe... typical aunty's doings... :-p
I am supposed to use a square pan of 13"x13"x1", but I do not have such a big one. As my oven is rather small, my bigger pan was 10"x10". Well, yesterday I went shopping, and I was looking at the bigger oven, so I told hubby that perhps I should change to a bigger oven??? He was like, "What???" OKOK, back to the point... Instead, I used a rectangular pan, and thought I could just sliced the cake into 3 layers when it was baked... Hmmm, don't attempt it, use the square pan as stated:-D
As you can see, the bottom layer of my cake as shown in the above picture, (which was actually the top part of the cake), was well baked. But the top layer of my cake wasn't, and it became dense as it wasn't baked properly... So the square pan will allow the cake to bake evenly, and to have a soft texture of the cake. Also because the texture of the batter was rather thick. Lesson learnt:-p
Piping of the cream decoration was absolutely in a mess and an anyhow design, as I have yet to master my skills to pipe beautifully... hahaha...
Cake taste...??? Hmmm, I did not really fancy the golden syrup cream, taste abit weird... Perhaps it was just me. We had all felt that the cake was abit hard, the cream abit too sweet.... Maybe I should try baking the cake once again, this time using the square pan, then at least my cake will come out softer, and more yummy... hehehehe...

Hope you will have fun trying out this cake too:)

Recipe adapted from Alan Ooi
(Ingredients & Method as adapted from his recipe)

Ingredients:
(A)
5 eggs
165g sugar
160g super fine flour
80g black sesame seed powder
40ml fresh milk
1 tsp ovalette (i replaced w 1 tsp condensed milk)

(B)
200g soft butter

Method:
1. Preheat oven to 170C. Line a bottom of a 13"x13"x1" baking pan, set aside.
2. Whish A at a high speed for about 5 mins till light & fluffy, set aside.
3. Add in B, whipped until thick & creamy, gradually fold in batter.
4. Ppur batter evenly into the prepared pan and baked for about 10-15 mins.

Icing cream
100g shortening
120g butter
150g golden syrup
1/2 tsp vanilla essence
coloring as desired

Method:
1. Cream butter until soften, fold in shortening and whip till fluffy. Add in vanilla essence and golden syrup, mix well until well belended. Scoop out a small portion and add yr desired coloring, stir well and set aside.

Assembly of cake:
Cut the cake into 3 layers, spread icing cream over the 1st layer, follwed by 2nd layer, and continued for the 3rd layer. Cover the whole cake with icing cream.

Decoration:
Decorate as desired:)

Have fun!!!

Happy 1st Annivesary to Bake-Along once again:)

Tuesday, May 29, 2012

Bake Along #25 - Bake Along 1st Anniversary Layer Cake - Macadamia Chocolate Cake

I hadn't had much time recently as I was busy with Missy's school homework. I had baked this cake a couple of weeks back, and I had saved it for this Bake-Along #25, 1st Annivesary Layer Cake theme, as I thought I would have much time to bake when the time comes.. Luckily I came into my blog today and saw the other bakers' posting for this Bake-Along 1st Annivesary Layer Cake theme... hehehe.... Else, I could have missed it out....

Wishing Bake-Along a very Happy Happy 1st Anniversary...
And from this Bake-ALong, I was glad that I had known the Bake-Along hosts, Joyce, Lena & Zoe. I have gotten to meet more Bakers whom bakes are so wonderful, and a great sharing place:))

Here is my bake, the Macadamia Chocolate Cake.
It was a really easy recipe to bake and try out.
I am very bad with slicing my cake into layers as they usually turns out to be out of shape or they are not evenly sliced... I have yet to find the perfect solution or the easiest way to slice them into layers.. hahaha... But I was glad, that this time, the layers were kinda equally thick... oops...:-p
This chocolate cake I made this time, was by steaming. The outcome of the cake was not too bad. I had actually expected it to be slightly hard after refrigeration, but it was still in a perfect condition.
The recipe was using hazelnut, but I do not have any, thus I replaced it with macadamia, which works fine as well. As for the side of the cake, I have mixed with some almond for the "browning" color of the nuts.
This cake was a hit among my family... We all love it sooooooo much... The macadamia nut cream was very good too. Not too buttery nor too rich, with the not-too-sweet and soft, steamed chocolate cake, it did compliment the whole cake as it should be...
I simply LOVE this cake, plus my layers were nicely sliced this time... hahahaha....
I could resist but to have a slice of the cake everyday, which usually I don't... Sinful as it was, it was worth it:))
Here is the recipe I adapted from Alex Goh's Steamed Cake recipe:
(with slight modification)

Steamed Chocolate Cake
(A)
320g sponge mix flour (we can use chocolate sponge mix as well)
4 eggs
(B)
30g water
(C)
1 tbsp chocolate emulco (can omit this if you use choc sponge mix)
(D)
50g melted butter

Method:
1. Whip (A) untick thick. Add in (B), whip until light & fluffy.
2. Add in (C), mix until well blended.
3. Add in (D), mix until well blended.
4. Pour into a greased and line 20cam round mould.
5. Steam for about 40 mins or until a skewer comes out clean.

Macadamia Cream
(A)
Butter cream
500g butter
150g icing sugar
1 tsp vanilla essence
*Cream butter & icing sugar until light & fluffy.

(B)
Custard
90g instant custard powder
220g milk
*Mix all ingredients until well combined. Leave aside until thicken.

Ingredients:
300g butter cream
300g custard
60g toasted ground macadamia nuts + extra for the side of the cake
Method:
1. Mix all ingredients until well-blended.

Assembly of the cake:
1. Slice the cake into 3 equal layers.
2. Sandwich the cake layers with the macadamia cream.
3. Cover the whole cake with the cream andcover the side of the cake with the toasted ground macadamia (i added some almond nuts for the "browning" effect)
4. Refrigerate until firm. Decorate as desired.

As I wrote this blog in the office, I wasn't able to load up the Bake-Along icon in here, due to some security blockage that our office had set... The pictures of my cake was loaded up at home, and I had totally forgotten to load up the Bake-Along icon.
So Bake-Along Hosts, do pardon me for this:-(

Happy 1st Anniersary to Bake-Along once again!!

Let's take a look at the other bakers for the wonderful recipes too:))

Saturday, May 5, 2012

Bake Along #23 Honey & Walnut Cake

Joining Bake Along #23 again with the favourite Cake Keeper Cakes recipes, Honey & Walnut Cake.
I had never baked with honey before and I was a little worried that this cake might be abit too sweet... Who knows, the cake turns out quite well, and in fact, this is my 1st cake that did not erupt on the top:-p

This is what I meant, a smooth round top after my cake was being baked... I was very pleased with it... hehehehe... My 1st ever smooth top...:-D
I guess this was the 1st time that I had ever followed the recipe temperature's guide...oops! :-p
Ok Ok, let's get back to this Honey & Walnut Cake... Recipe stated that honey will burnt out faster and it might brown the top. But for mine, I think it still looks pretty alright to me... Perhaps, when I was putting in the honey, I had actually miscounted the number of spoons of honey that I had added in... I must be getting old and forgetful... haha!!! So this cake might contained the actual amount of honey as required, otherwise, it is under-ed honey...
This cake has a very soft, moist texture. Sweetness is just right. I was quite impressed with the combination of this cake.
The only thing about it was that, I do not own a food processer to grind the walnut till fine powdery texture. I had use a hand-held blender instead, but it seems to be clotting up as in chunks as the walnut released oil upon grinding... So while mixing the walnut into the flour mixture, I had to mix it well, to release the crumbs. But nevertheless, this cake turns out fine. I am still able to taste the teeny weeny bits of the wanuts.
The testers had some opinions. For some of us, we love this cake very much, with its soft, moist texture, and the combination was just right for us. And for the rest, it wouldn't be a cake that they will want to eat again as they find it is too sweet:-p
So what would your choice be? Do try out this wonderful cake, and perhaps, it might be one of your favourite too?
Ingredients:
1 1/2 cups walnut pieces
1/3 cup sugar
1 cup unbleached all purpose flour
1 1/2 tsp baking powder
1/4 tsp salt
3/4 cup unsalted butter, softened
6 tbsps honey
3 large eggs
1 tsp grated lemon zest
1/2 tsp vanilla extract
confectioners' sugar

1.Preheat the oven at 350F. Grease a 9 inch round cake tin. Line the bottom of the pan with parchment paper. Grease the parchment , dust the sides of the pan and parchment with flour. Spread the walnuts in a single layer on a baking sheet and toast until fragrant, 8-10 minutes. Let cool completely.
2. Combine the cooled walnuts and 1 tbsp of sugar in the bowl of a food processor and process until the nuts are finely ground. Add the flour, baking powder, salt and pulse to combine.
3. Add the buttter, honey and remaining sugar to a large mixing bowl and beat on medium high speed until smooth, about 2 minutes, scraping down the sides of the bowl . Beat in the eggs, one at a time, scraping down the sides of the bowl after each addition. Beat in the zest and vanilla. Add the nut flour mixture, 1/2 cup at a time and mix until just incorporated.
4. Scrape the batter into the prepared pan and smooth with a spatula. Bake until a toothpick inserted into the center of the cake comes out dry, 35 to 40 minutes. If the cake starts to brown too much around the edges, loosely tent with foil after 25 minutes.
5.Let the cake cool in pan for 10 minutes, invert it onto wire rack and then turn it right side up again to cool completely. Dust heavily with confectioners' sugar before cutting into wedges and serving.


Here, let's join along the Bake-Along hosts, Joyce, Lena & Zoe, and other bakers whom had join along in this bake too:)

P.S: I have seen everyone's bake piece, but sometimes I am just not able to leave a comment in your blog to let you know how wonderful your bake piece looks too...
So sorry...:(

Friday, April 13, 2012

Bake Along #22- Creme Brulee - My Forever Favourite!!!

I simply love creme brulee but I didn't try making mine either... I have kiv my creme brulee recipe for a very long time as I did not have any ramekins nor a kitchen torch... So there was I, enjoying every single bits of the creme brulee whenever I go for a buffet lunch that serves creme brulee... hehehehe!!!!

There are plenty of creme brulee I had ever tasted..., but nothing beats the original ones... And of course, with the Bake Along Theme this time, actually motivated me to buy my ramekins & to try out my creme brulee recipe! Amongst so many creme brulee recipes I had, I decided that I should just be humble for now and stick to the original creme brulee.

CREME BRULEE

My creme brulee..., I did not have a kitchen torch to caramelize the sugar topping...thus it didn't look as fantastic... But using the top oven heat works fine too, and most importantly, it tasted as great as it should be...:-D

As I had to take pictures of the creme brulee, the picture below, the creme brulee wasn't chilled overnight as it was supposed to be. So the texture here looks abit soft. If it is chlled overnight, the texture should be slightly firm. Nevertheless, it was still yummmmmy!!!


This picture below, was the 1st batch of creme brulee that I had put in to bake... And I realised that the top part was actually all foam and the egg mixture went half through the ramekins... I was rather disappointed..:(( And I missed out an important point that I should rest the egg mixture for a while before baking them.


And here, the proper creme brulee it should be... I am so pleased with them...


I brought some creme brulee for my colleagues to try and they all said it was fantastic.So mission is completed and passed...hehehehe....


Ingredients:

3 egg yolks

1 egg

90g sugar

500ml whipping cream

1 vanilla pod

1/4 tsp vanilla essence


Method:

1. Cut the vanilla pod open along its length. Scape out tge seeds. Put the whipping cream and vanilla seeds into a pot. Put it over low heat until it boils. Turn off the heat.

2. In another bowl, beat egg yolks and sugar with an electric mixer until pale.

3. Slowly stir in the hot cream mixture from step 1. Mix well. Add on egg and vanilla essence. Whisk further. Strain the resulting mixture to remove any lump.

4. Divide the egg mixture among small ramekins. Cover with aluminium foil. Arrange on a deep baking tray and pour boiling water up to half of the height of the ramekins.

5. Bake in a preheated oven of 160C for 45 mins.

6. Leave it to cool. Refrigerate until chilled.

7. Before serving, sprinkle sugar on top. Burn the sugar with a kitchen torch until it turns golden. Or bake them in an oven with the upper heat filament on for about 3 mins until the sugar melts and browned. Serve.


Here, you can find out the Bake Along Hosts, Zoe, Joyce & Lena, and of course along with the other bakers too:))